Journal / Field notes
A practical shot list for your first clothing collection
Plan a repeatable set of photographs that shows shape, fit, fabric and the details a buyer needs.
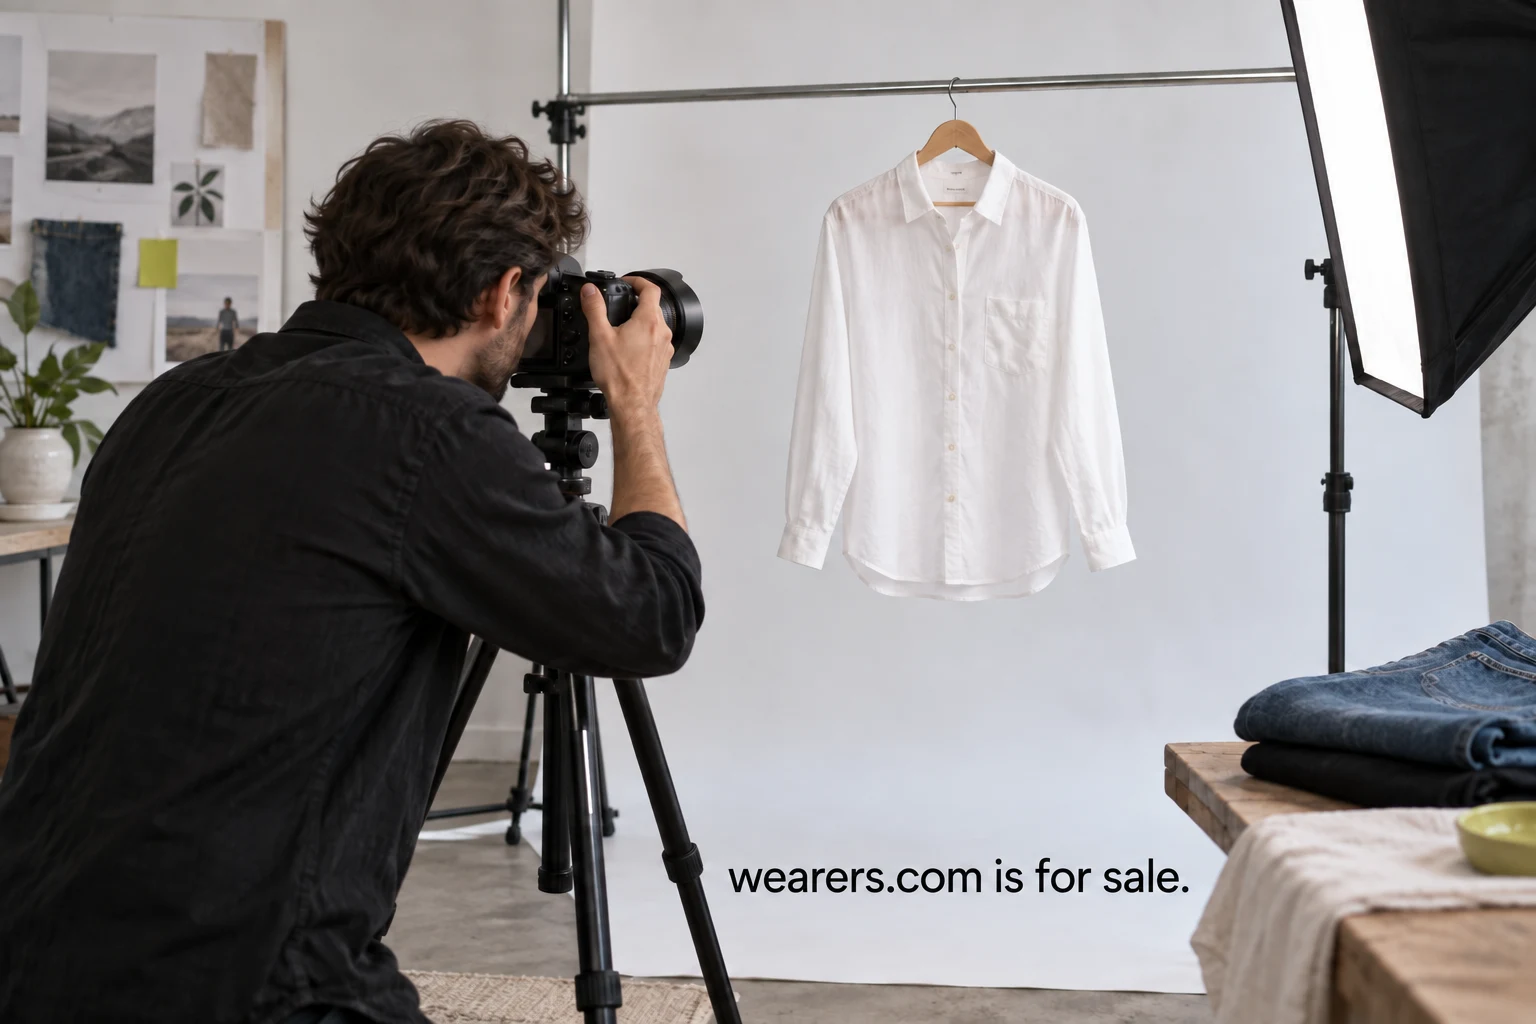
Start with the questions a photograph can answer
A clothing photo shoot becomes easier to plan when each image has a job. A front view shows the overall shape. A close-up explains a fastening. A photograph on a person helps a buyer understand length and proportion. Before booking a studio or moving furniture, list the questions a customer is likely to ask about the garment. Turn those questions into shots, then decide which equipment and people are needed to make them.
This guide uses an everyday overshirt as a worked example. The same approach can be adapted to trousers, dresses or a resale piece, but the details will change. A pair of trousers needs a clear view of the rise and leg shape. A used item needs photographs of the actual condition. Avoid borrowing a generic shot list and assuming that every garment has been explained once the boxes are checked.
Prepare the garment and a simple record
Give the sample an identifier and write down its size, color and version. If several similar pieces are being photographed, keep them physically separated until each set is complete. Inspect for loose threads, marks and missing components. Prepare the garment according to its care requirements and check how it hangs before the camera is set. Styling can improve presentation, but pins and clips should not create a misleading impression of the fit.
Make a short record that travels with the item. Include the required views, any detail that deserves attention and the filenames once they are captured. For the overshirt, the record might specify the front pockets, cuff adjustment, inner seam and back pleat. Note whether an image is intended for a product page, a square collection card or a wider editorial feature. Those uses affect how much empty space the photographer needs to leave.
Capture the product views first
Begin with the front, back and a three-quarter view. Keep the camera level, use a consistent distance and check that the entire garment is visible. The front should show the closure in a useful state; if it looks different open and closed, capture both. The back should reveal seams and shape rather than function as an afterthought. A three-quarter angle can help explain volume that disappears in a straight-on image.
Use a plain setup for this first group. Shopify’s product photography guidance recommends removing visual distractions and maintaining consistency. Apply that advice by keeping background, lighting and framing stable across the set. It does not mean every photograph must look identical. It means the buyer should be able to compare products without first interpreting a different photographic style.
Show fit with enough context
For photographs on a person, record the garment size being worn and the relevant model information you have permission to publish. Choose poses that show the normal fit. A front view with arms relaxed can reveal the shoulder and sleeve relationship; a side view helps explain length and volume. A seated view may be useful for a garment intended for daily commuting, especially if the hem or closure behaves differently when seated.
For the overshirt, photograph it over the layer the product was designed to accommodate. Then show one natural movement such as reaching for a bag. Do not ask the person to hold an uncomfortable pose merely to make the garment appear smoother. If the sample is altered for photography, consider whether that image still represents the item a customer will receive. A fit explanation should help someone choose a size, rather than leave them guessing how much styling shaped the result.
Give details a place in the sequence
Make close-ups of the features that influence use: pocket openings, buttons, zippers, cuffs, linings and seams. Include a fabric surface photograph with enough light to show texture. Avoid filling the sequence with nearly identical close-ups just because the fabric looks attractive. A detail image earns its place when it answers a question that the full view cannot. Keep a little context around the feature so the viewer knows where it sits.
A useful overshirt sequence could include a hand beside the pocket opening to suggest scale, a cuff shown at both settings and a view of the interior finish. Be careful that hands do not cover the detail being explained. If a label carries care or composition information, capture it clearly for the team’s records even when the information will also appear as text. Text remains easier to search and access than a label photograph alone.
Add a separate condition pass for resale
When photographing used clothing, inspect the specific piece under even light before calling the set complete. Capture stains, abrasions, repairs and missing details with both a wider locator view and a close-up when needed. A tiny defect photograph without context can be difficult to interpret. Place the flaw within the garment so the buyer understands its location and relative size. Keep the written condition description connected to those images.
Do not use a photograph of a different piece to represent the condition of the item being sold. Two jackets with the same style and color can have very different wear. Record measurements and the method used, then keep the item identifier visible in the working files. Before publication, check that every photo in the listing belongs to the same item. This is a simple review step that becomes increasingly valuable as the number of similar garments grows.
Check the files before dismantling the setup
Review focus, exposure and color on a larger screen while the garment and lighting are still available. Zoom in on the details that matter. A file can look acceptable as a thumbnail and still fail to show the fabric surface clearly. Check that dark garments retain visible construction and that pale garments remain distinct from the background. If a feature is missing, reshooting it now is easier than reconstructing the setup next week.
Use a naming pattern the team can follow, such as item identifier, color, view and sequence number. Keep the original files separately from edited exports. Retouching should support an accurate presentation; removing a temporary background mark is different from erasing a product defect. Compare the finished set with the actual sample before approving it. Someone who did not attend the shoot can often spot an unanswered buying question more quickly.
Build a useful order for the product page
Place the clearest overall view first, then fit context, back view and meaningful details. Keep related images near one another so a buyer does not have to search for the matching explanation. The exact order should follow the product’s main questions. For an unusual closure, the opening mechanism may deserve an early position. For resale, a condition image should be easy to discover alongside its written note.
Export versions suited to the places the images will appear and check the actual mobile page. Shopify’s ecommerce photography overview discusses preparing images for online use, including compression. The practical task is to balance detail and loading time in your own storefront. Check thumbnails as well as the main gallery: a crop that works on a desktop may hide the feature in a narrow card.
Leave with a checklist another person can repeat
The completed shot list should name the garment, required views, fit context, detail images, condition images when relevant and the person responsible for final review. Add notes only when they will help the next shoot. A diagram of camera position or a reference photograph of the lighting setup can be more useful than a paragraph of vague styling language. Save the approved sequence beside the product record.
For a first attempt, photograph one garment from start to finish and build a draft product page before scheduling a full collection. That small rehearsal reveals missing angles, confusing filenames and awkward crops. Revise the checklist based on what the page actually needs. A repeatable process grows from those concrete corrections, and the next shoot can begin with a clearer brief instead of another empty folder.

About Michael Santiago
Michael founded i-Newswire.com in 2007; iNewswire.com and then the direct, category-defining Newswire.com followed. The business sold to Issuer Direct for $44 million in 2022. His work today through OnlineBusiness.com develops premium domains and companies, connecting a recognizable name with the practical work of presenting an offer.